
Rubber injection molding is a commonly used manufacturing method for producing detailed and dimensionally accurate rubber parts. It offers advantages such as consistent part quality, reduced material waste, and efficient production cycles. These features make it suitable for requiring precision and reliability, such as in the automotive, medical, and consumer product sectors.
To better understand how this process works and what makes it effective, it helps to look at each stage involved. This article outlines the 5 key steps of the rubber injection molding process, providing a clear overview from material preparation to part removal.
The First Step of the Rubber Injection Molding Process: Mold Design
Mold design is the foundation of the rubber injection molding process. A well-designed mold ensures that the final part meets dimensional requirements, performs as intended, and can be manufactured efficiently. Therefore, investing time and attention in this first step helps prevent issues downstream in the manufacturing process.
Designing a mold for rubber injection begins with a clear understanding of the part’s geometry, material behavior, and functional requirements. It is typically based on 3D CAD software, which allows for precise modeling and simulation and helps visualize the part within the mold, test flow patterns, and detect potential issues before physical production begins.
The Second Step of the Rubber Injection Molding Process: Rubber Material Selection
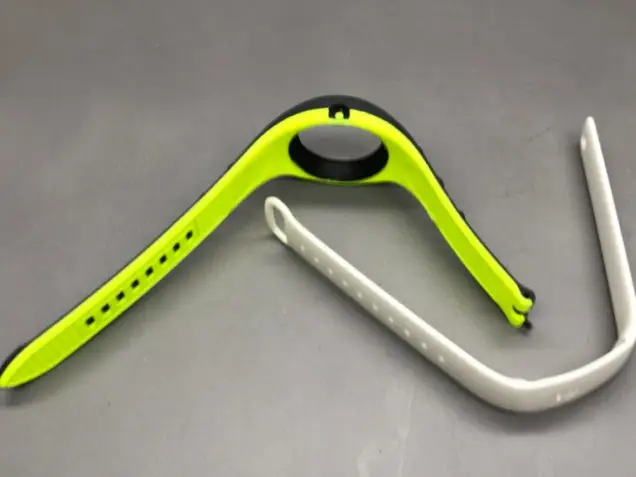
Once the mold design is finalized, the next step is selecting the right rubber material for your project. The performance, durability, and manufacturability of the molded part are all closely tied to the properties of the material used. An effective material choice ensures the part meets its intended mechanical, thermal, and chemical requirements while also being compatible with the molding process.
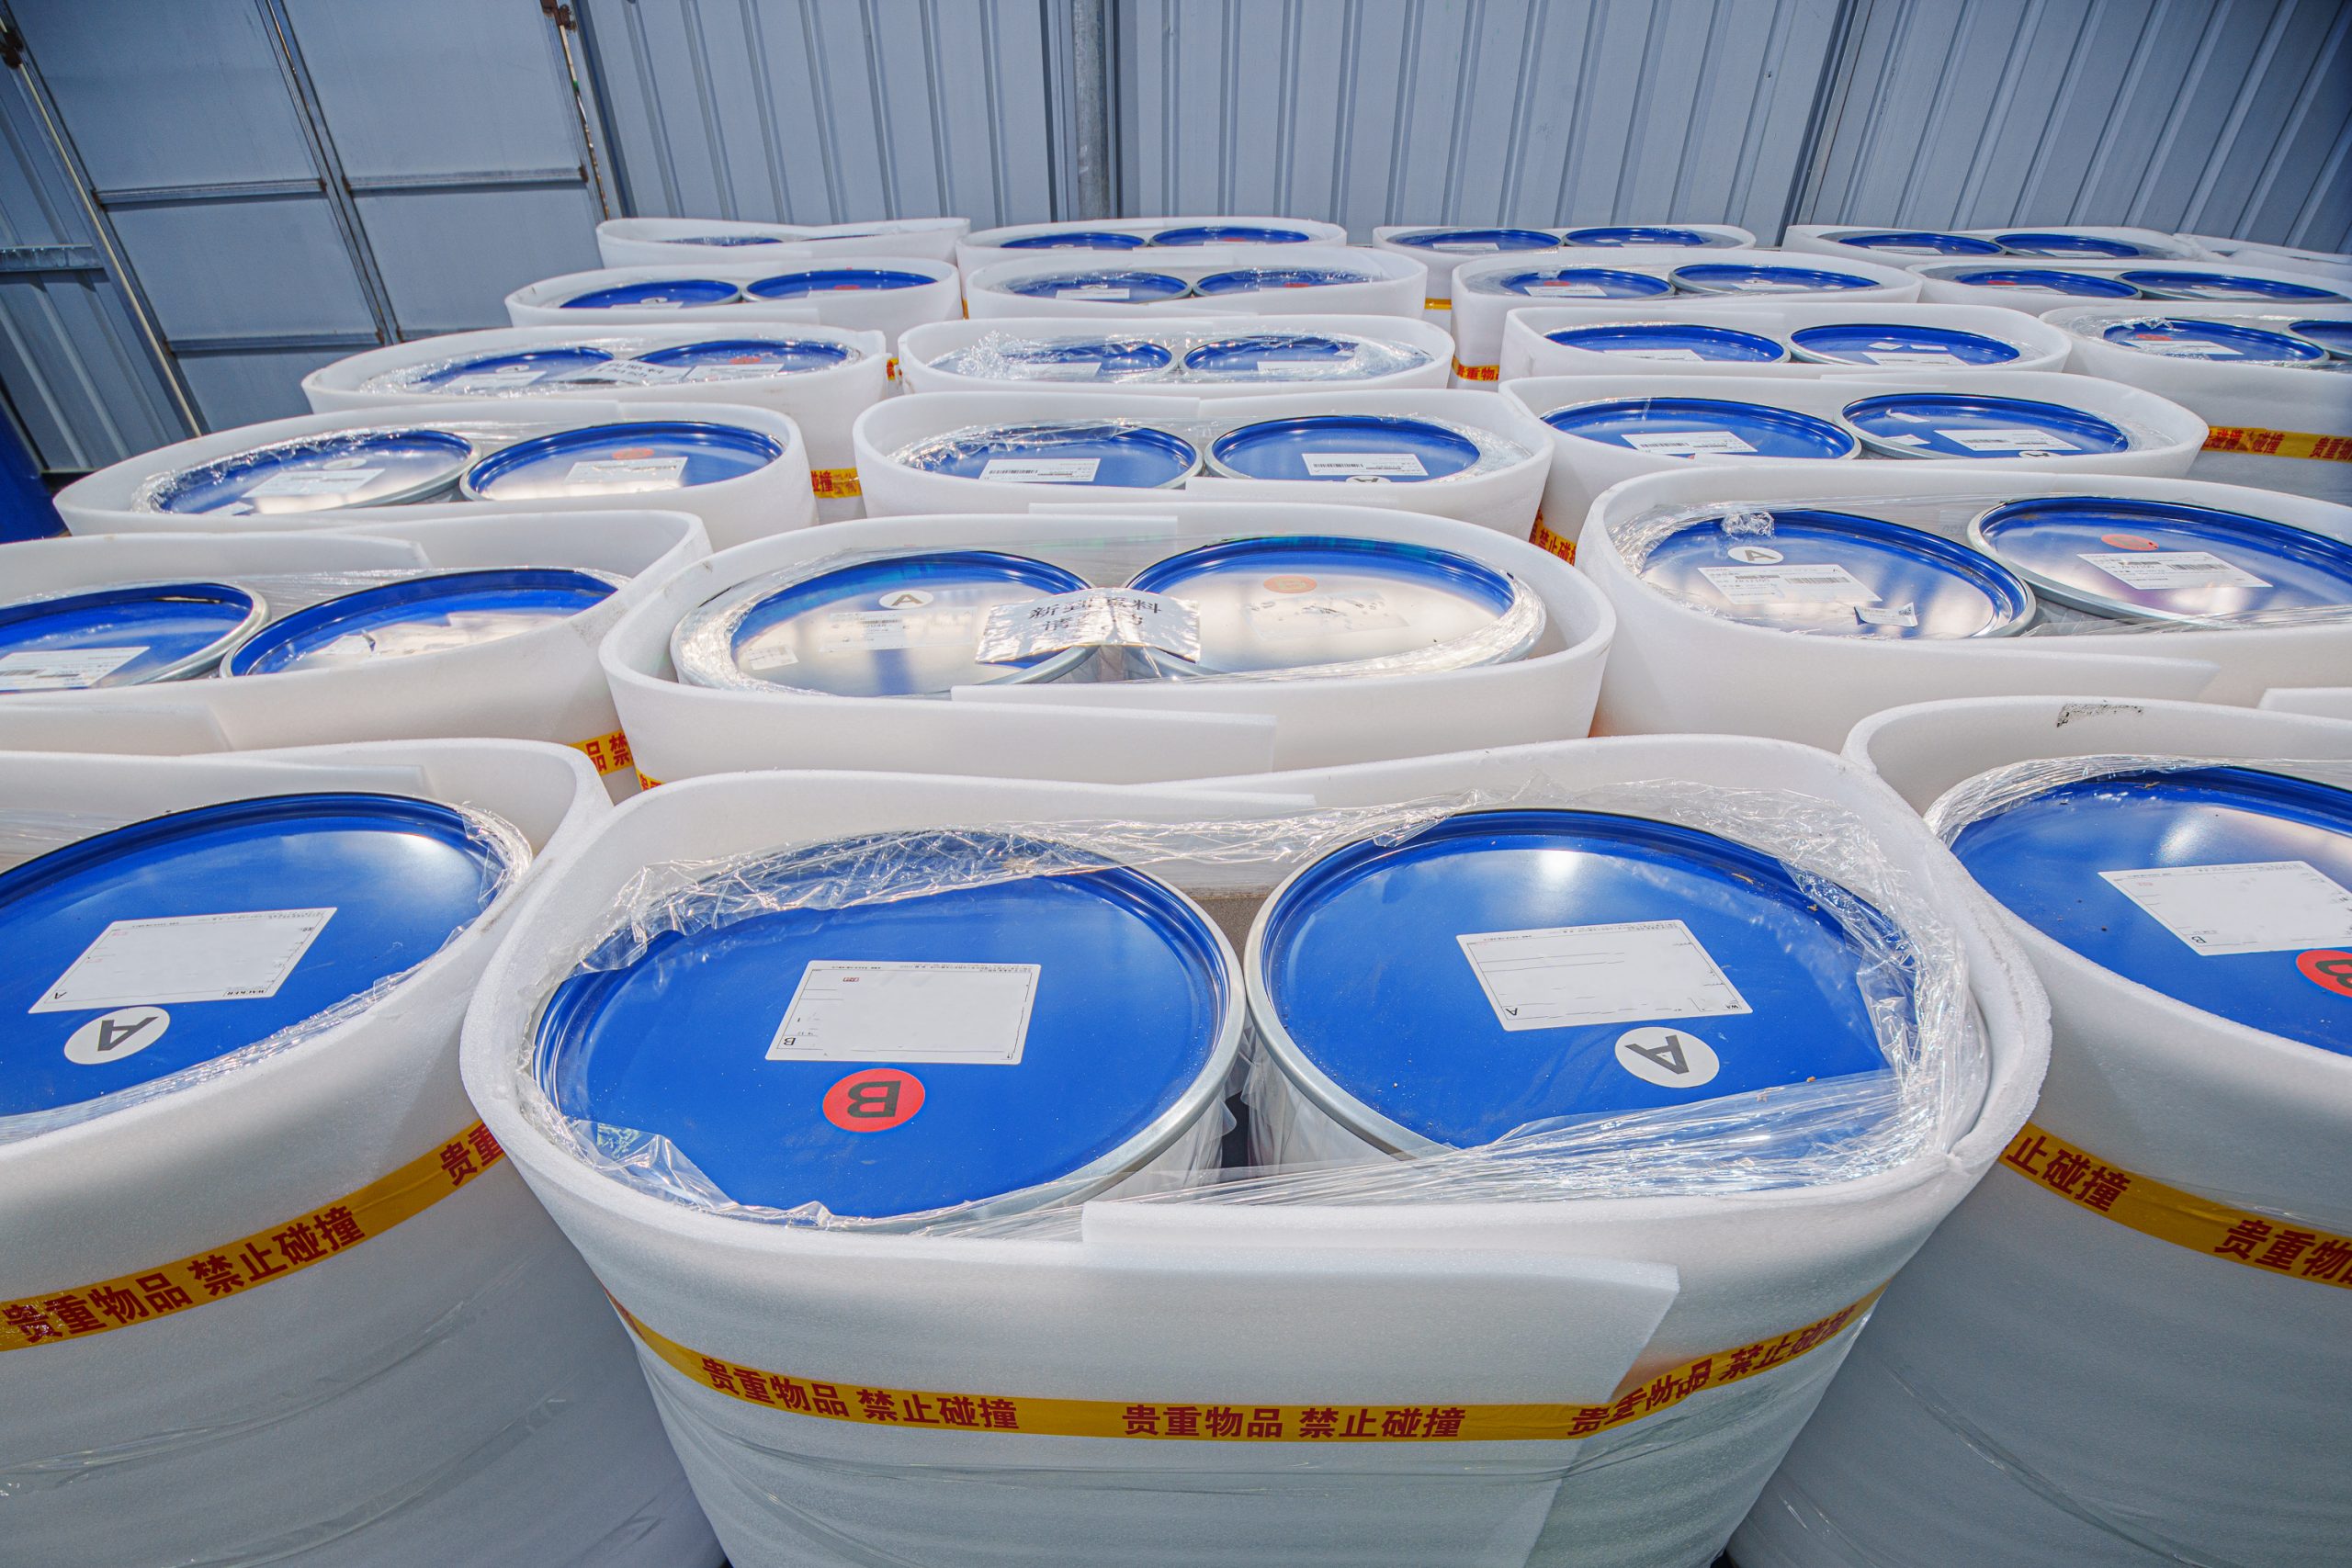
Rubber compounds come in a wide range of formulations, each offering different levels of hardness, elasticity, temperature resistance, and chemical compatibility. Commonly used materials in injection molding include:
| Category | Features |
| Food-Grade Silicone | Soft, Skin-Friendly and BPA-Free |
| Medical-Grade Silicone | Non-Toxic, Eco-Friendly, Tough, and Resilient |
| Low-Temp. Silicone | Fast Vulcanization Performance, Excellent Physical and Mechanical Properties, and Stable |
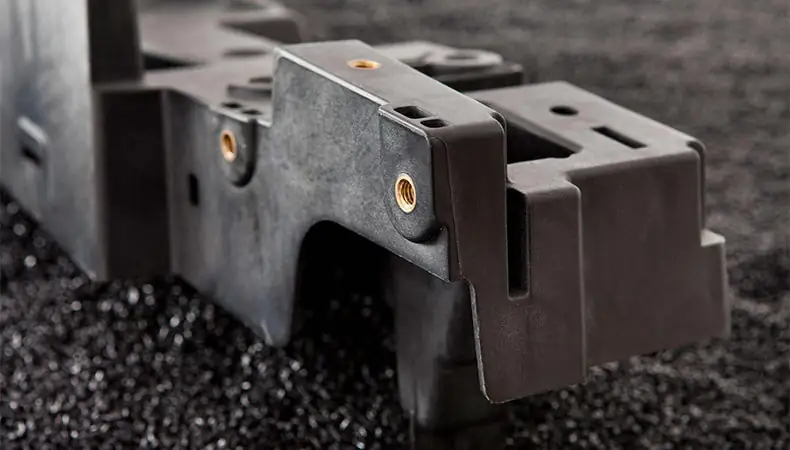
The Third Step of Rubber Injection Molding: Injection
In the injection stage, manufacturers often introduce the prepared rubber material into the mold cavity under controlled conditions to form the desired part.
- Material Preparation and Feeding
The process begins with feeding uncured rubber into the injection molding machine. Typically, the rubber is mixed and formed into continuous strips approximately 1.25 inches wide and 0.375 inches thick. These strips are fed into a screw mechanism, which conveys the material into a barrel. Within the barrel, the rubber is heated to a semi-liquid state, reducing its viscosity to facilitate flow into the mold cavity. This pre-heating also initiates the curing process, shortening the overall cycle time.
- Injection into the Mold
Once the rubber reaches the appropriate temperature and consistency, a predetermined amount is injected into the closed mold cavity through a nozzle and runner system. The injection is undergone under high pressure to ensure the material completely fills the mold, capturing all the intricate details of the cavity.
- Curing and Solidification
After the mold cavity is filled, the material undergoes curing, also known as vulcanization. During this phase, the material is held at an elevated temperature and pressure for a specific duration, allowing it to solidify and take on the final shape of the part. The curing time and temperature depend on the rubber compound used and the dimensions of the part. Proper curing is indispensable to achieving the desired mechanical properties and dimensional stability.
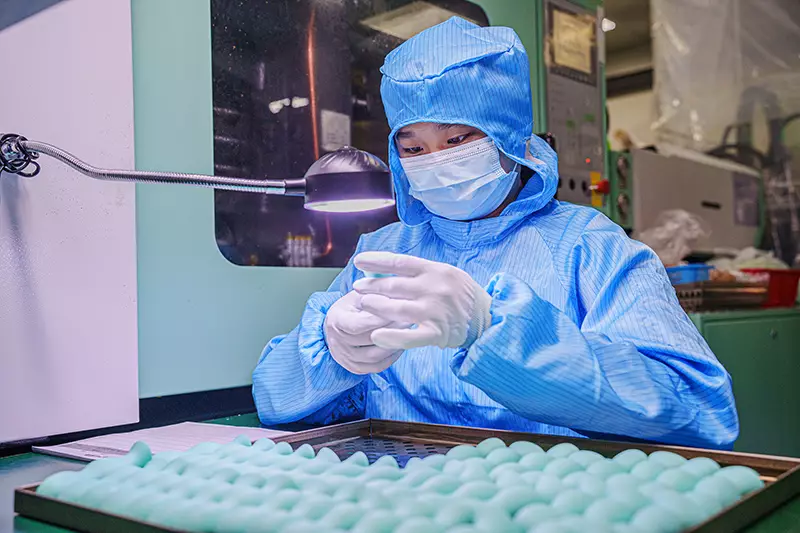
The Fourth Step of Rubber Injection Molding: Cooling and Ejection
Once the rubber has been injected into the mold and properly cured, the next step is cooling and ejection.
- Cooling Phrase
Cooling allows the rubber to stabilize and retain its shape. Mold temperature control, often through built-in cooling channels, helps speed up this step and ensures consistent results.
- Ejection Phrase
Once cooled, the mold can be opened, and the part is ejected using pins or other mechanisms designed to avoid surface damage. Clean ejection is important to maintain part quality and reduce the need for rework. This step marks the end of the molding cycle and prepares the part for final inspection or any required finishing.
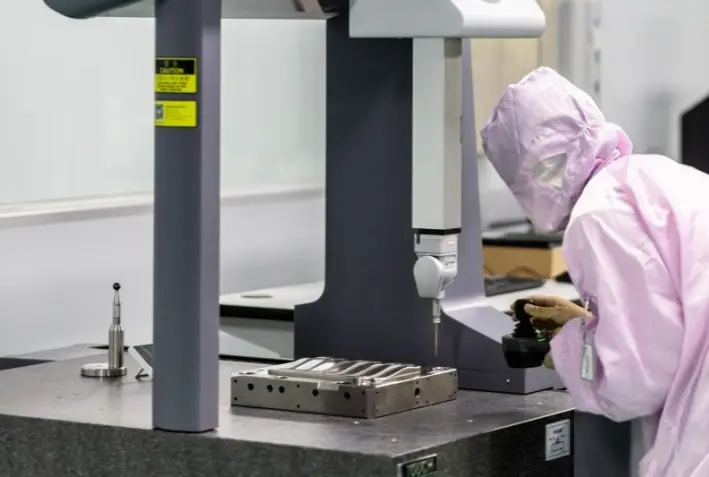
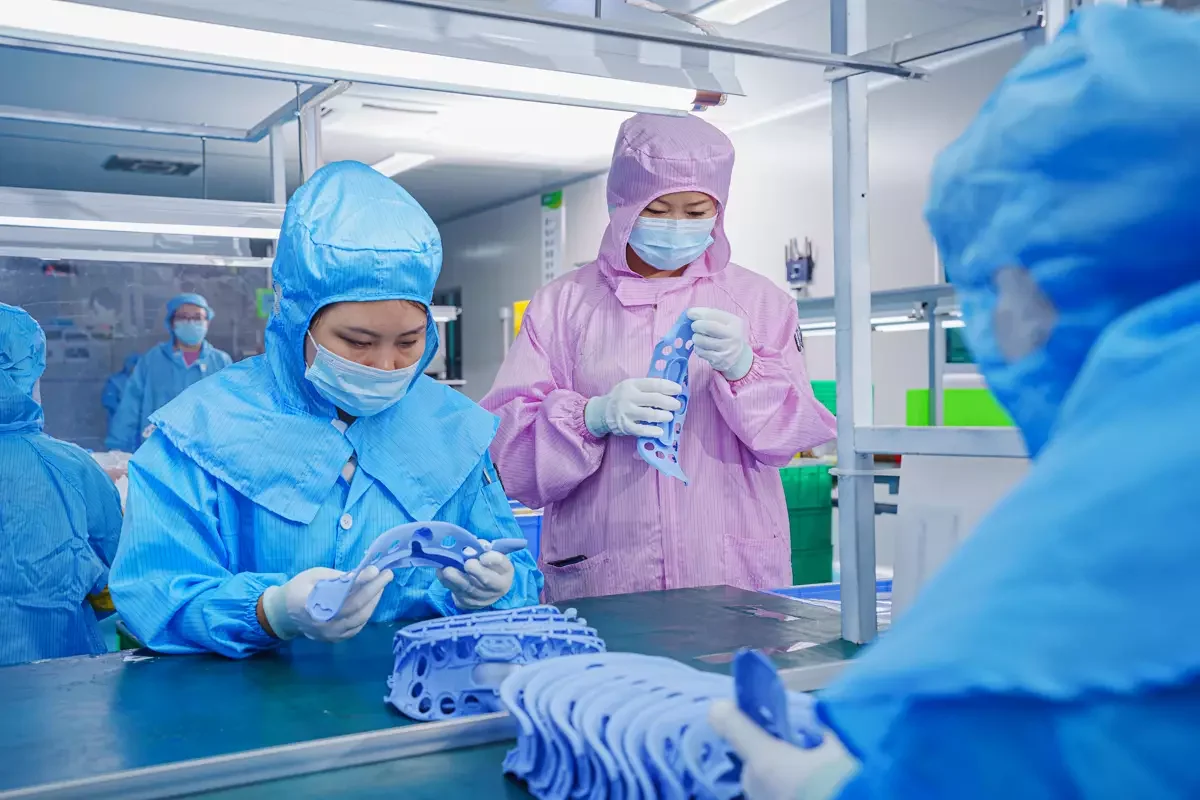
The Last Step of Rubber Injection Molding: Inspection and Quality Control
After ejection, each part undergoes inspection and quality control to ensure it meets specifications. This step involves visual checks and measurements to verify dimensional accuracy and surface integrity. Automated systems and manual inspections work together to identify any defects or inconsistencies.
By promptly detecting issues, adjustments can be made to maintain production quality and reduce waste, ensuring that every part adheres to the required standards.
Herny Precision’s Rubber Injection Molding Service: Why Reliable?
Having explored the essential steps in the rubber injection molding process, it’s clear that each phase—from mold design to inspection—requires precise execution to ensure high-quality results. This is where Herny Precision stands out, offering reliable and efficient rubber injection molding services that meet various needs in different industries.
- Professional Mold Design
Our sophisticated team will work closely to create molds that meet unique product specifications, ensuring both functionality and ease of manufacturing. With a deep understanding of mold design principles, we can tackle intricate parts of designs.
- Custom Solutions
At Herny Precision, we offer custom-tailored injection molding services to suit your specific needs. Whether you’re looking for a high-performance rubber part or need a unique material combination, our team is ready to provide solutions that can ensure quality, efficiency, and cost-effectiveness.
- Precision Control
Our commitment to precision is evident in every stage of the injection molding process. We manage injection parameters with exceptional accuracy–dimensional tolerances as tight as 0.001 mm. And we can handle injection pressures over 25 MPa and injection speeds of 300 mm/s or higher, allowing us to meet demanding production requirements.
Conclusion
From mold design to material selection, injection, cooling, ejection, and quality control, each step plays vitally in meeting the final standards. With Herny Precision’s expertise in mold design, precise control over injection parameters, and ability to provide custom solutions, we offer reliable and efficient rubber injection molding services.
Contact us today to satisfy your demands on rubber injection molding!
Reference
- Available at: https://www.timcorubber.com/rubber-resources/rubber-molding-process
- Available at: https://jeffersonrubber.com/comprehensive-guide-to-rubber-injection-molding
- Available at: https://rubber-group.com/rubber-molding-injection-transfer-compression